How to update your tired looking stairs on a budget

After quite a long break here it is my first project of the year. Well, actually the project started last year but for some reason I kept putting it off.
Because of that our stairs looked like this for way too long (minus the black colour which was added before Christmas):

As in most of the houses our stairs were covered with a carpet (old and ugly in our case) and I hated the look of it! For a very long time we were dreaming that one day we would replace the carpet with a runner over painted stairs. I still like that idea but definitely don’t like the price tag that good quality stair runners come with. And there’s the fitting cost too. No way! So I’ve decided to look at different options. There were lots of interesting ideas but nothing I fell in love with. Instead we decided to remove that old (and ugly) carpet and just live with bare stairs for a while until the light bulb above my head lights up with an idea (that did not actually happen for another five months!). In the meantime Rob sanded down the wood and I painted the post and the banister black (then sanded it down little bit for that aged look).
I also collected some wallpaper samples hoping to use them on the stairs (I swear they will soon have a photo of me with a big sign above “DON’T LET HER IN” in my local B&Q store). I was going to go for that vintage look with lots of different colours and patterns but that idea quickly dropped as I wanted something more rustic and more real (although I couldn’t afford real!). And then finally one more wallpaper sample later (and few more trips to B&Q as I needed a little bit more than just one sample) my stairs project is finished and I absolutely love the new look!!!

And this is how I did it:
- Prepare the stairs by removing the carpet (if you still have it), removing all the nails and everything else that sticks out of them and finally sanding down the flat surface of your stairs (there’s no need to do the fronts as they’re gonna get covered with a wallpaper). You can use a palm sander for this bit or if you don’t have it, just use a standard sanding block with a sanding paper.
- When the stairs are prepared you can do the painting bit, making sure you start with the darker colour first, followed by light colour (if you’re going for two-tone colour).
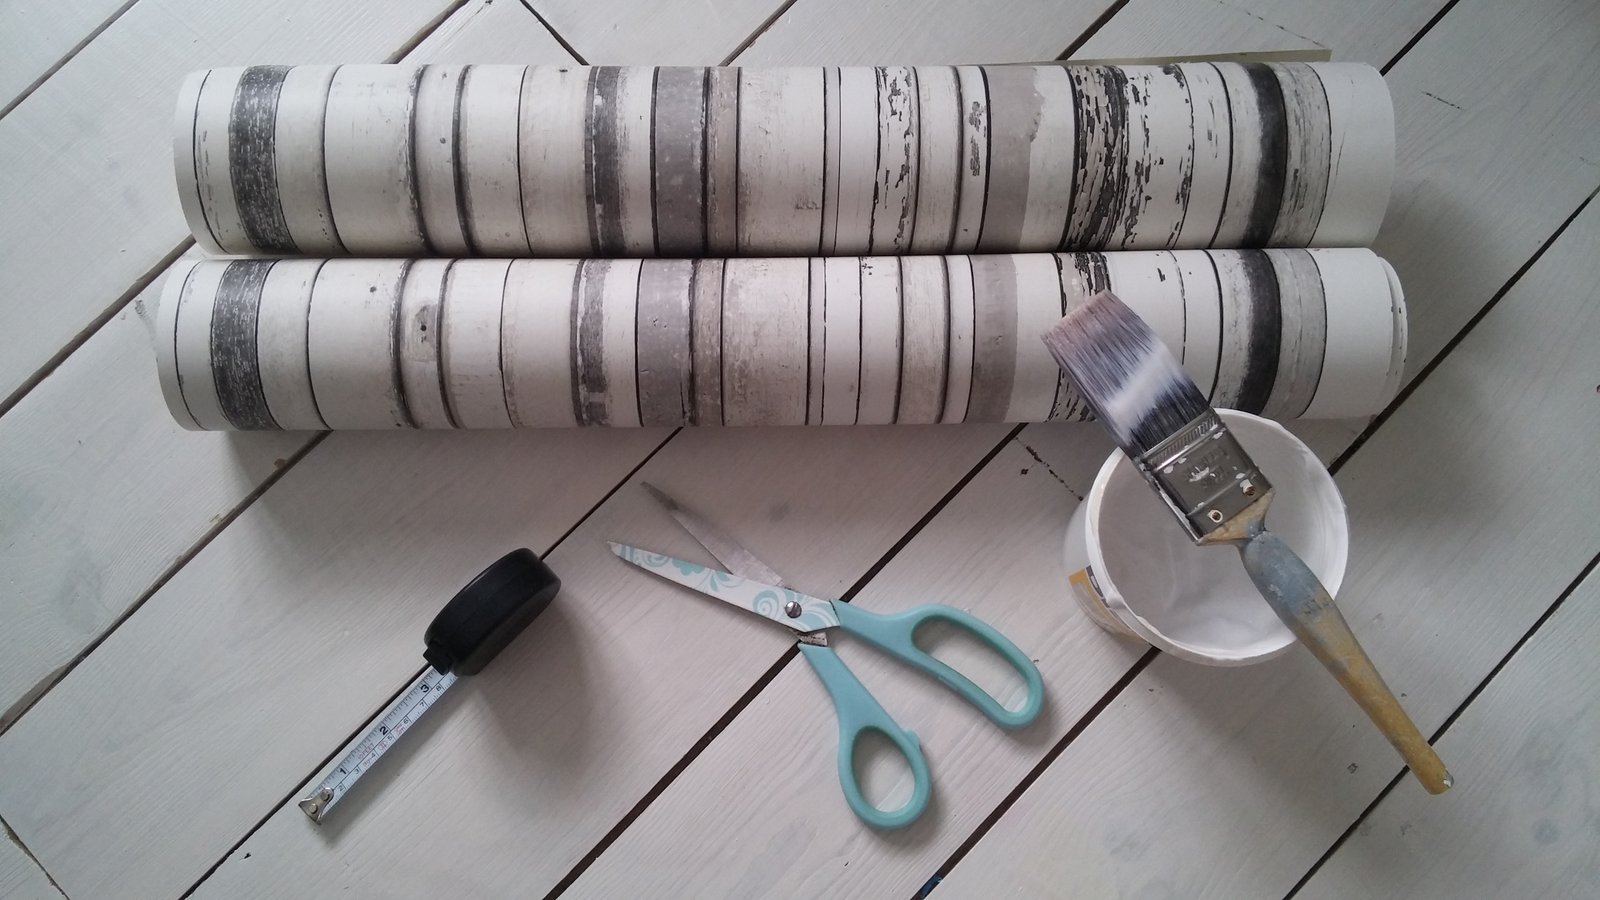
- When all the painting is done you can start the fun bit. For this you will need: samples of your chosen wallpapers (to work out how much you need you have to multiply the width of your stairs by the number of stairs you’re decorating), ready to use decorator’s glue (£4), brush, measuring tape, pencil, scissors and a set-square.

- Measure up the width and the height of every step (as they may be slightly different).
- Roll out the wallpaper on a flat surface and mark the measurements of your steps. Use a set-square for right angles and straight lines.
- Cut out the wallpaper making sure the lines are kept straight.
- Repeat so that you have all the pieces ready (if some of your stairs have different measurements don’t forget to number them at the back).
- Using a brush apply the glue to the surface that will be wallpapered. Be generous with the glue but don’t over do it as it will get messy.
- Stick the piece of wallpaper to the surface, smooth it with your hand or a cloth. Get rid of all the air bubbles and if necessary re-apply.
- Carry on with the rest of your stairs.
- When you’re finished, don’t forget to take a photo, smile and be very proud of yourself!!!
Don’t have time to read it now? Pin it for later
Zapisz
Zapisz
Zapisz
Zapisz
Zapisz
Related News
0 Comments
Reply your comment Cancel Reply
This site uses Akismet to reduce spam. Learn how your comment data is processed.


Anonymous
March 19, 2017O wow! Yes, that sounds like a big job. The positive of living in a small house is that the jobs you tackle aren’t that big… or they shouldn’t be at least 🙂 Good luck with your project and please do come back to share how it turned out, I will love to see!
Marta Hutt
March 18, 2017Loving how your stairs turn out. Definitely a seaside vibe. I’m hoping to tackle my stairs in Summer (also covered in horrible carpet but it’s gonna be a bigger enterprise for me as they are not the usual type of stairs (huge with 3 landings and splitting into two different directions so wish me luck…. I might be coming back for more tips on stairs makeover in future 😉